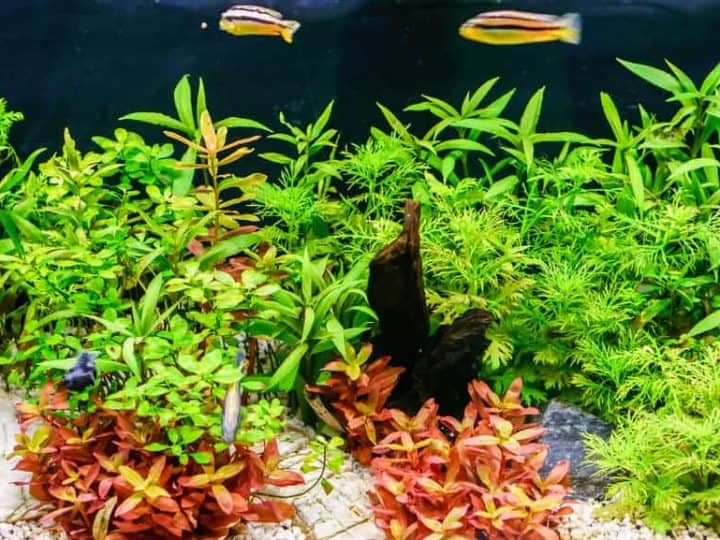
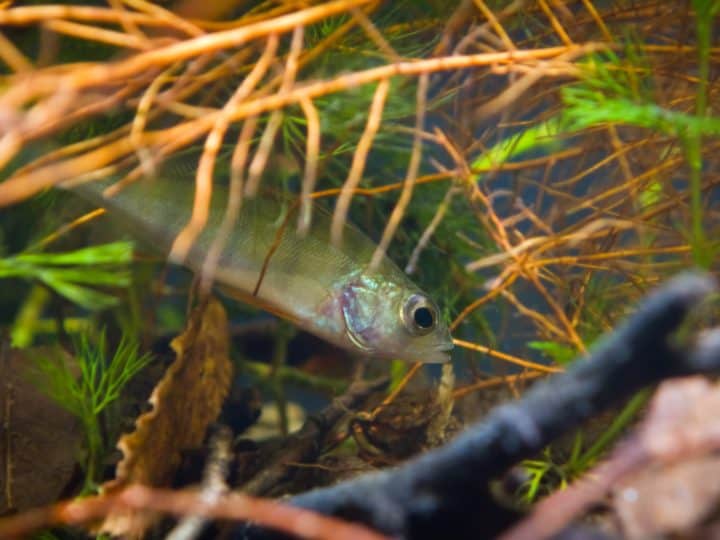
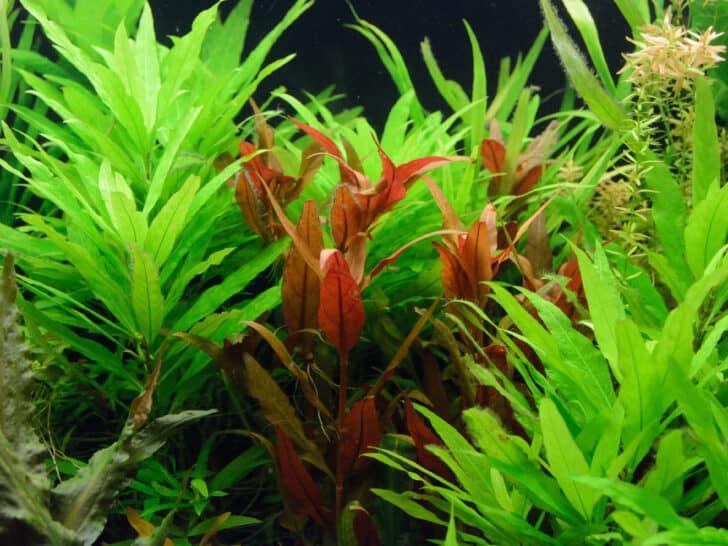
Aquatic plants can be the difference between a plain aquarium and a beautiful, lush green waterscape. However, they need nutrients and minerals for optimal growth. You can add fertilizers to enhance growth – liquid fertilizer and root tabs, but even your own homemade fertilizer should do the trick.
Quick Answer
Here’s how to create DIY aquarium fertilizer:
- Fill an empty one-liter bottle with distilled water.
- Add your dry salts to the water bottle.
- Dose your aquarium based on the aquatic environment.
- Add trace minerals to the tank, if needed.
- Switch out 50 percent of the tank’s water weekly.
- Test your water weekly.
In this article, I’m going to cover how to create your own liquid fertilizer for your aquarium plants, as well as some dos and don’ts regarding aquarium fertilizer and tank maintenance. Read on to learn more.
How To Make a DIY Aquarium Fertilizer
A DIY aquarium fertilizer is a relatively inexpensive and easy way to ensure that your aquatic plants get everything they need to survive and thrive. The particular fertilizer that I’m making in this article uses dry salts and distilled water. You can alter the dose based on your specific aquatic setup. I’ll discuss how to do this later, in step three.
To create the aquarium fertilizer, you’ll need:
- One-liter (1.05 quart) bottle
- Distilled water
- Kitchen scale (accurate to 1 gram or 0.03 ounces) or accurate measuring spoons
- 15 grams (0.53 ounces) calcium nitrate
- 22 grams (0.78 ounces) potassium sulfate
- 1.42 grams (0.05 ounces) monopotassium phosphate
- 8 grams (0.28 ounces) magnesium sulfate (Epsom salt)
Once you’ve gathered all of your materials and ingredients, you can get started using the following instructions:
1. Fill an Empty One-liter Bottle With Distilled Water
Distilled water contains little to no contaminants. The water distillation process consists of heating the water so that it transitions to steam and evaporates. As it evaporates, it cools on the lid of the distiller, condensing and returning to a liquid state.
The condensed water is then collected into a separate container. All contaminants, impurities, and dissolved solids from the original water source are left behind.
Most tap water and spring water already contain trace minerals and nutrients. Choosing distilled water ensures that there aren’t additional minerals, ions, metals, or salts. Instead, you’ll know exactly how many minerals there are when you add the dry salts to the water.
2. Add Your Dry Salts to the Water Bottle
Dry salts are easier to dose and dissolve quickly in water. You’ll need several different salts to create an all-around fertilizer.
The essential nutrients that your tank will need are:
- NPK (nitrogen, potassium, phosphorus)
- Fe (iron)
- Calcium
- Magnesium
In this DIY aquarium fertilizer recipe, I’m using calcium nitrate, potassium sulfate, monopotassium phosphate, and magnesium sulfate. However, there are other sources of these nutrients and minerals that you can experiment with.
Note: I am not adding iron to my fertilizer, as the iron will come from trace minerals that I’ll discuss in step four.
Here’s a chart showing the different nutrients and the corresponding salts that you can purchase to create a DIY aquarium fertilizer (I’ve italicized the salts that I’m using in this recipe):
| Nutrient | Source |
| Potassium | Potassium sulfate (K2SO4)Potassium chloride (KCI)Potassium nitrate (KNO3)Monopotassium phosphate (KH2PO4) |
| Nitrogen | Potassium nitrate (KNO3)Calcium nitrate (Ca(NO3)2.4H2O) |
| Phosphorous | Monopotassium phosphate (KH2PO4)Dipotassium phosphate (K2HPO4) |
| Magnesium | Magnesium sulfate (MgSO4) |
| Iron | Chelated iron Red pottery clay (for use in the substrate)Plantex CSM + B is a trace element mix and contains iron. |
While you can use plastic measuring spoons (metal reacts with some salts, causing it to rust over time) to measure the salts, I highly recommend using a scale.
Choose a scale that’s accurate to at least one gram. I recommend the NEXT-SHINE Rechargeable Kitchen Scale, available on Amazon.com. This scale is accurate to within 0.1 g (0.0035 ounces), supports several different weighing units, and comes with a one-year warranty.
Weigh out your salts. Here’s how much you’ll need:
- 15 grams (0.53 ounces) calcium nitrate
- 22 grams (0.78 ounces) potassium sulphate
- 1.42 grams (0.05 ounces) monopotassium phosphate
- 8 grams (0.28 ounces) magnesium sulphate (epsom salt)
Shake the bottle vigorously to mix up all of the salts and allow them to dissolve in the water.
3. Dose Your Aquarium Based on the Aquatic Environment
The amount of fertilizer you need depends on your aquatic environment. If your aquarium is heavily planted, for example, you’ll need more nutrients than one that is sparsely planted. Additionally, the higher your lighting level, the more nutrients you’ll need.
I highly recommend choosing a medium to low light environment. High lighting levels require high levels of nutrients, and sometimes it’s difficult to maintain.
Use the amount of fertilizer as referenced below for your planting density, lighting, and tank capacity:
| Planting Density | High Lighting | Moderate Lighting | Low Lighting |
| Sparse | 5 mL (0.17 oz) per 10 gal (45.5 L) water | 2.5 mL (0.08 oz) per 10 gal (45.5 L) water | 1.25 mL (0.4 oz) per 10 gal (45.5 L) water |
| Moderate | 10 mL (0.34 oz) per 10 gal (45.5 L) water | 5 mL (0.17 oz) per 10 gal (45.5 L) water | 2.5 mL (0.08 oz) per 10 gal (45.5 L) water |
| Heavy | 15 mL (0.5 oz) per 10 gal (45.5 L) water | 10 mL (0.34 oz) per 10 gal (45.5 L) water | 5 mL (0.17 oz) per 10 gal (45.5 L) water |
For example, for a low-lit, heavily planted tank, you’ll use 5 mL (0.17 oz) per 10 gallons (45.5 L). Each dosing at this level will add:
- 1.04 ppm (parts per million) of nitrate
- 0.13 ppm of phosphate
- 1.35 ppm of potassium
- 0.34 ppm of calcium
- 0.1 ppm of magnesium
How Often Do I Add Fertilizer to My Aquarium?
Add fertilizer to your aquarium every day for six days a week before you turn on the aquarium lights for the day. On the seventh day, do not add fertilizer. Instead, use this day to switch out your tank’s water.
I’ll discuss how to switch out your tank’s water in step five. The day after you switch out the water, you can resume normal dosing.

4. Add Trace Minerals to the Tank, if Needed
Most aquariums do not require trace minerals unless your tank lacks them. Usually, these minerals are available from the gravel, pebbles, or rocks in the substrate, as well as fish waste and the decay of plants and other organic materials in the tank. Fish food also contains many trace minerals, including:
- Boron
- Chlorine
- Copper
- Manganese
- Molybdenum
- Nickel
- Zinc
You can pick up a test kit to check these levels. If you’re lacking in these nutrients, you can use a liquid fertilizer that contains them.
I recommend NilocG Aquatics Miller Microplex, which is available on Amazon. It contains trace minerals that aquatic plants need, including magnesium, copper, and – importantly – iron. As mentioned above, ensuring your tank has iron is crucial to ensuring your plants grow well.
Follow all dosing instructions when using trace minerals in your aquarium to ensure you don’t add too much or too little.
5. Switch Out 25 Percent of the Tank’s Water Weekly
As I briefly mentioned in step three, you’ll need to change out 25 percent of the tank’s water every week.
In natural environments, bodies of water are constantly refreshed with new water, typically through rainfall, melting ice, or even rivers flowing into the environment. Aquariums cannot refresh water naturally, so you must maintain them to keep the water clean.
If you don’t switch out your water regularly, you’re going to end up with murky water due to a buildup of organic wastes. Not only does this look unsightly, it also increases the nitrate levels in the water and lowers the water’s pH. Both of these can be detrimental to your fish and plant life.
To change out your tank’s water, you’ll need:
- Thermometer
- Siphon tube w/ gravel cleaner attachment
- Five-Gallon (23-liter) bucket
1. Leave Your Fish In The Tank When You Switch the Water
It’s a misconception that you should remove the fish before changing the water.
I always recommend to leave the fish inside the tank.
Related read: Do You Leave The Fish Inside The Tank When Changing Water?
2. Check the Temperature of the Water
Before removing any water, check the temperature. Make a note of it so that you can try to match this temperature when refilling the tank. By keeping the aquarium’s water parameters as close to the same as possible, you reduce the likelihood of shocking your fish after returning them to the tank.
3. Turn Filters and Heaters Off
To eliminate the risk of electric shock, ensure that all filters, heaters, lights, and other electrical equipment (in and around the tank) are off during the water changing process. Once everything is turned off, unplug everything from the wall outlet. This is purely a safety precaution.
4. Siphon the Water Into a Bucket
Stick one end of the siphon tube into the five-gallon (23 liters) bucket. Switch on the machine and use it to suck up fifty percent of the tank’s water. Once you’ve removed the water, use the gravel cleaning attachment to remove any debris or waste along the substrate. After you’ve cleaned the tank, remove the siphoning tube and set the bucket aside.
5. Clean the Filters
Open the filter enclosure and remove any dirty sponges. Rinse the filters using the water that you just siphoned out of the tank. Remove all dirt, debris, and other waste. Once the sponges are clean and free of debris, place them back into the filter enclosure and make sure that it’s fully closed.
6. Use the Dirty Tank Water To Water Plants
Instead of throwing out the dirty tank water, put it to good use! The water may look murky and smell a little strange, but it’s rich in nutrients and can be “recycled” by using it on indoor plants or in your outdoor garden. Plants can use the added nutrients, and you’re essentially saving money on water and plant fertilizer in the process.
7. Fill the Now-empty Bucket With Tap Water
Once you’ve emptied the bucket, use both hot and cold tap water to refill it. Try to bring it back to the temperature that you noted in step one. Do not refill the tank with only hot or cold water – the fish could die or go into shock if there is a drastic change in water temperature.
8. Add a Water Conditioner
Water conditioner neutralizes chlorine and other chemicals found in tap water to make it safe for fish.
I recommend the API Tap Water Conditioner, available on Amazon. This reasonably priced water dechlorinator treats the water in seconds.
Add the water conditioner to the five-gallon bucket according to the instructions on the packaging. Swirl it around with your hand to mix it in.
9. Pour the New Water Into the Tank
Depending on the size of your aquarium, you may need to repeat steps 7 through 9 until the tank is full, adding a water conditioner each time you fill the five-gallon (23 liters) bucket.
Once the tank is full, switch the heater, filter, and lights back on. Check the temperature again. Once it reaches the temperature when it was when you started, add the fish back into the tank.
Repeat the water changing process once a week.
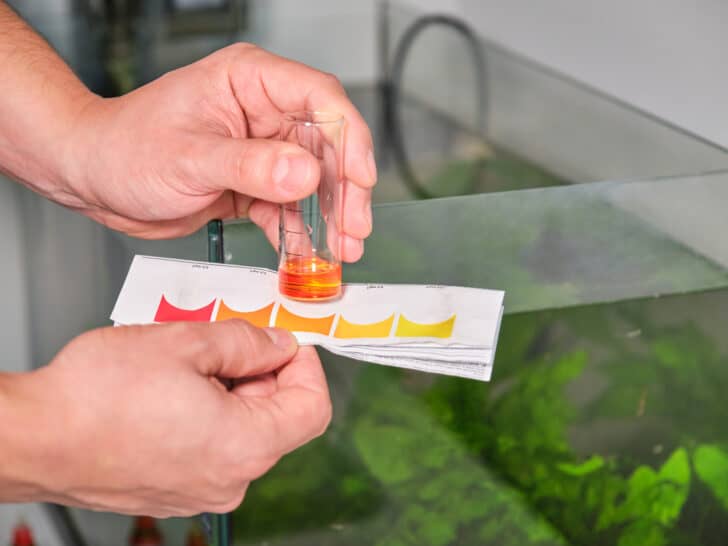
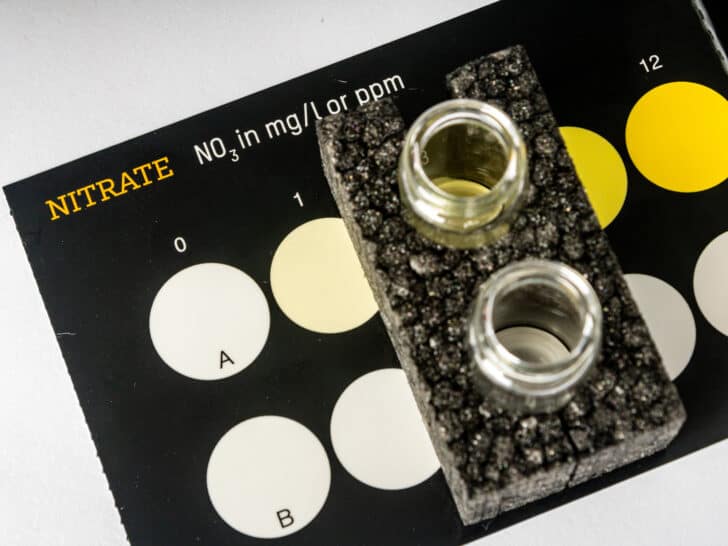
10. Test Your Water Weekly
To ensure that the water contains safe levels of nutrients, minerals, and nitrates and to ensure that the pH is optimal, test your water every week. This is especially important if you’re not planning on switching the water out that week.
For testing, I recommend the API Water Test Kit from Amazon.com. This test kit checks:
- pH
- High-range pH
- Ammonia
- Nitrite
- Nitrate levels
The Dos and Don’ts of Aquarium Fertilizer
When creating a DIY aquarium fertilizer, there are some dos and don’ts to keep in mind to prevent any tank problems.
Don’t Skip Water Changes
Whether you’re using a store-bought fertilizer, a DIY fertilizer, or not fertilizing at all, you need to change your tank’s water on a weekly basis. Water changes are absolutely critical to the quality of your tank’s water and the health of your fish and aquatic plants.
You can resolve many algae problems by simply changing how often you switch out the water. I recommend a 25 percent water change once a week, but you could get away with a 15 percent change twice a week if that’s easier for you – however, I find that once a week is less labor-intensive.
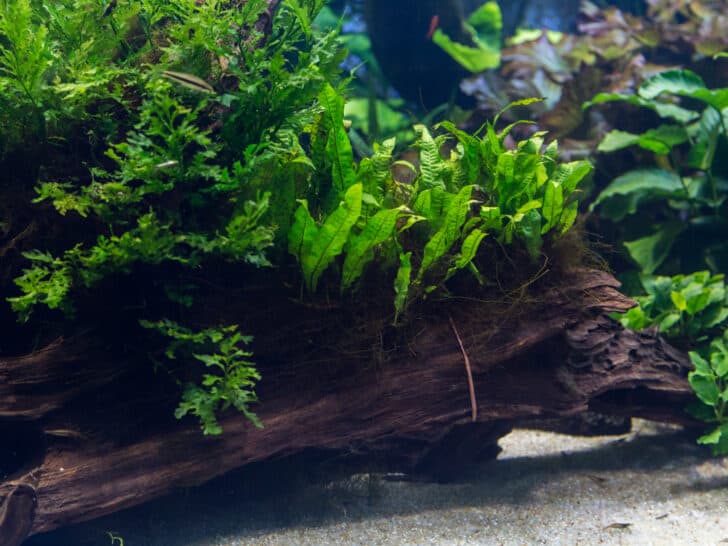
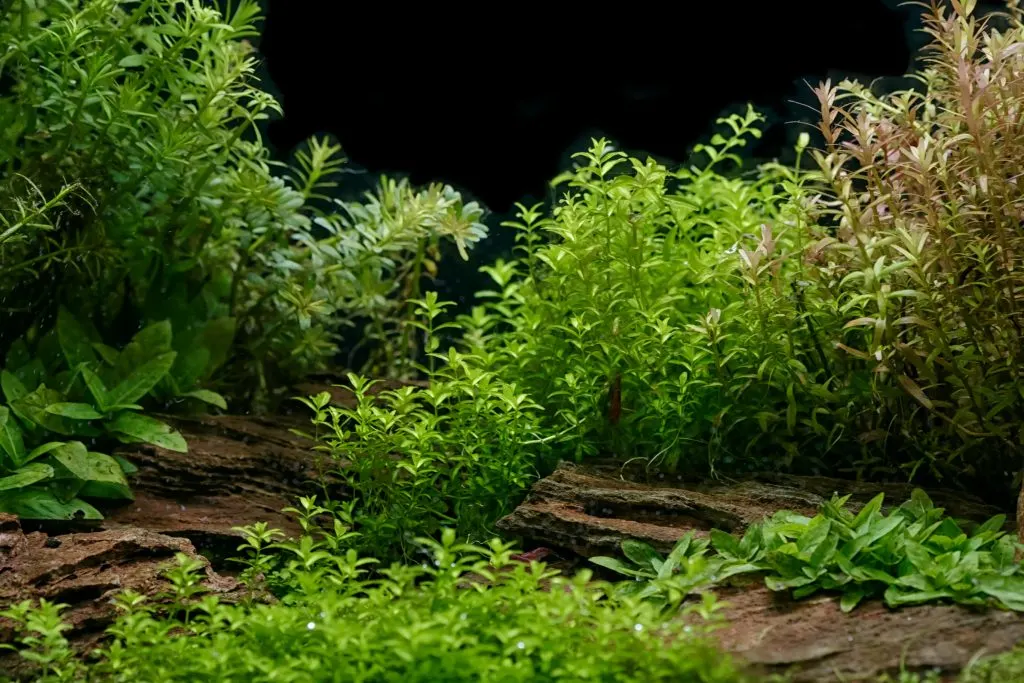
Do Use a Lot of Plants During Setup
If you’re using light and nutrients but have few plants, algae will benefit from the lack of competition. By adding more plants, you’re reducing the likelihood of an algae outbreak. More than that, a sparsely planted tank looks less visually appealing than a lush, densely planted aquarium.
Don’t Overstock the Tank
If you add too many fish and other aquatic creatures to the tank, you are not only putting too much stress on the fish, but you’ll also end up with a heavy amount of nitrogenous waste as the fish defecate. It accumulates quickly – and if you’re also adding fertilizer, you could easily end up with a serious algae problem.
Do Invest in Algae Eaters
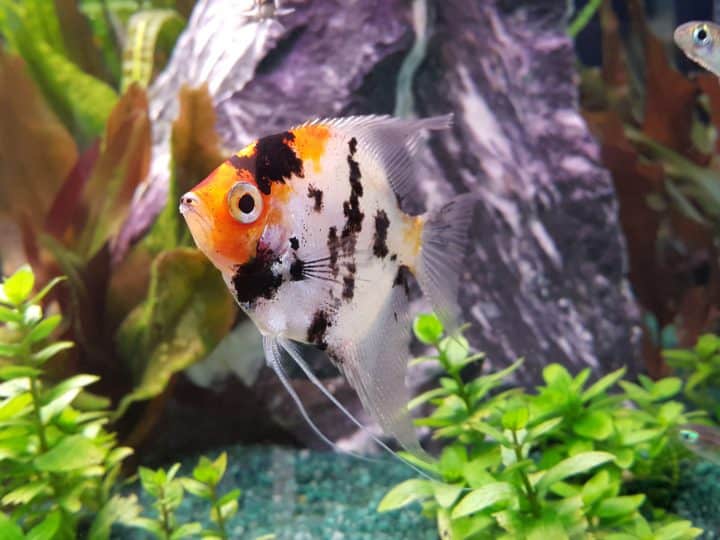
To control algae levels in your tank, consider adding shrimp, snails, or algae eaters such as an otocinclus or a bristlenose catfish. While they won’t remove all of the algae, they can help you with the tank maintenance.
However, before adding additional aquatic life, you’ll want to ensure that the size of your aquarium, the current water parameters, and your current fish will allow it. And don’t think of them as scavengers alone – you have to feed these algae eaters, too!
Conclusion
An aquarium is a lovely addition to any living space, but only when it’s properly cared for. A murky, sparsely planted fish tank doesn’t add much in the way of aesthetics, but a lush, well-growing aquarium filled with healthy, vibrant fish can act as the focal point of a room.
To keep your aquatic plants and fish healthy, you’ll need to provide nutrients and minerals. A DIY aquarium fertilizer is one of the best ways to do so. By using distilled water, dry salts, and trace minerals, you can create a fertilizer that your plants will use to grow strong.