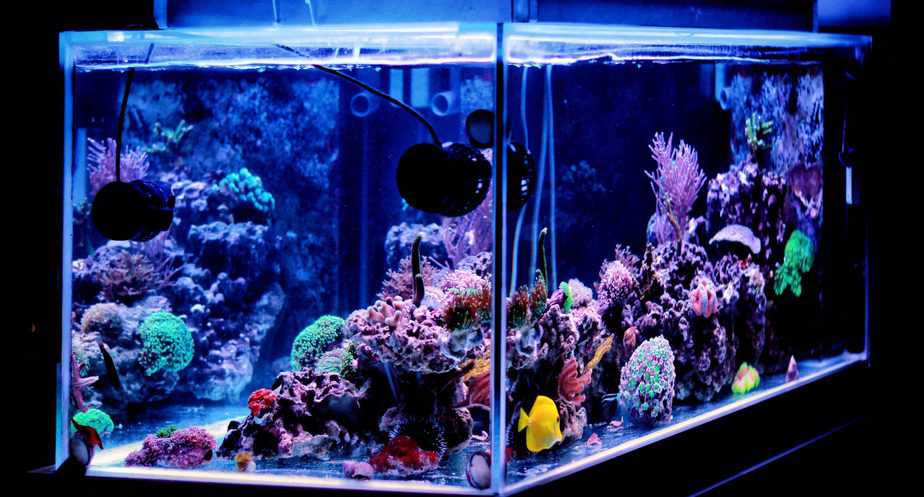
Compared to freshwater aquariums, saltwater tanks are often deemed more difficult and unsuitable for beginners. That’s why we offered the most helpful resources to maintain and set up a saltwater aquarium.
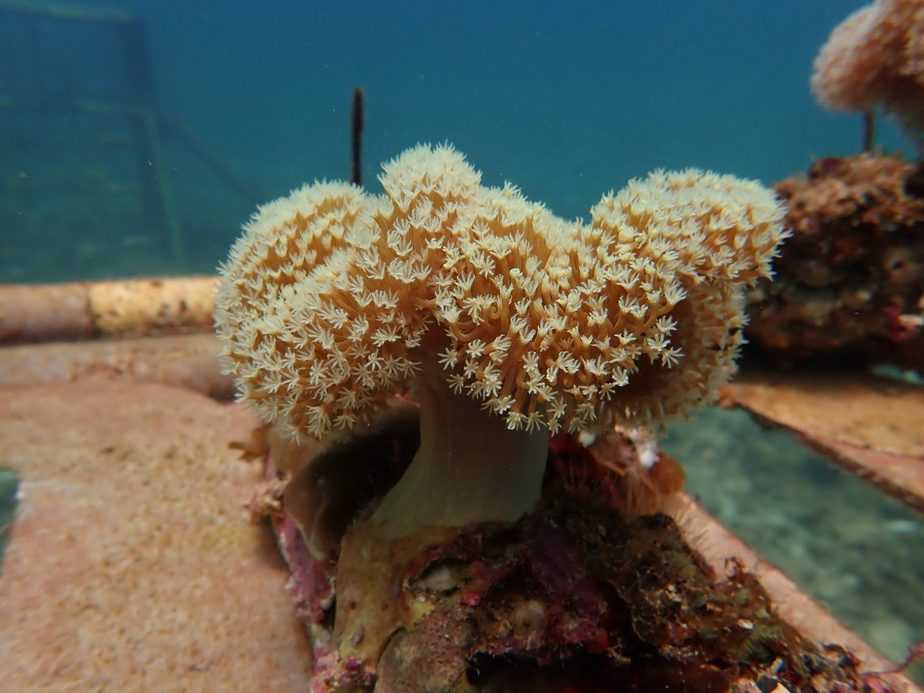
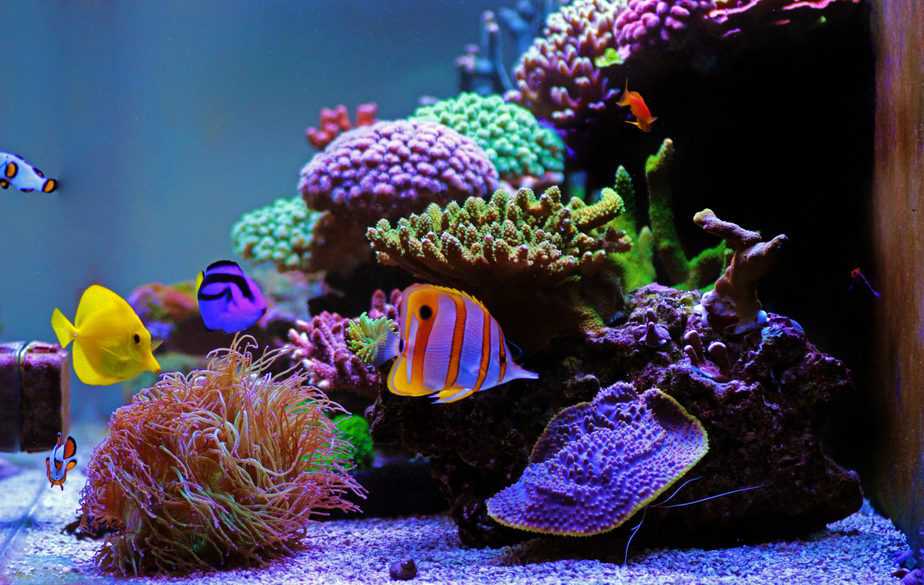
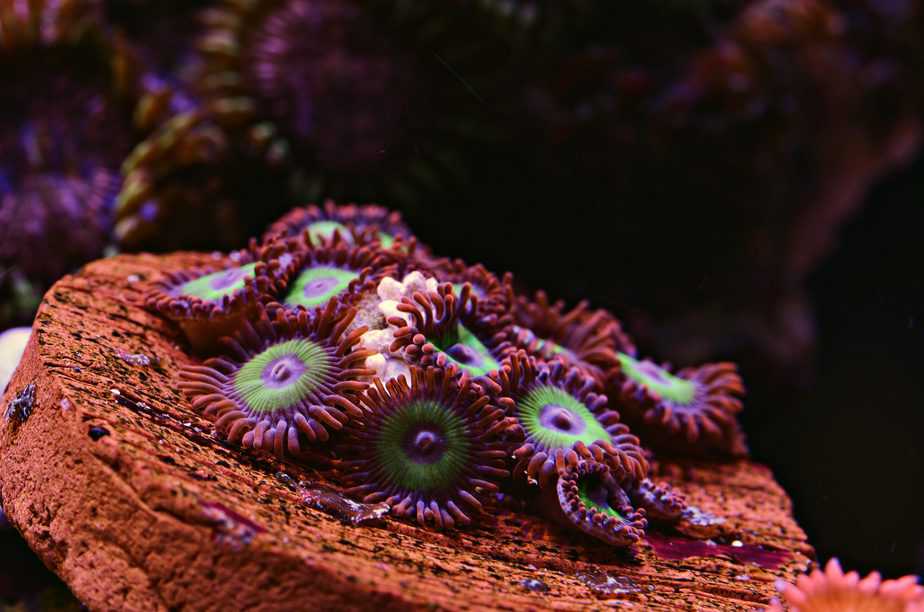
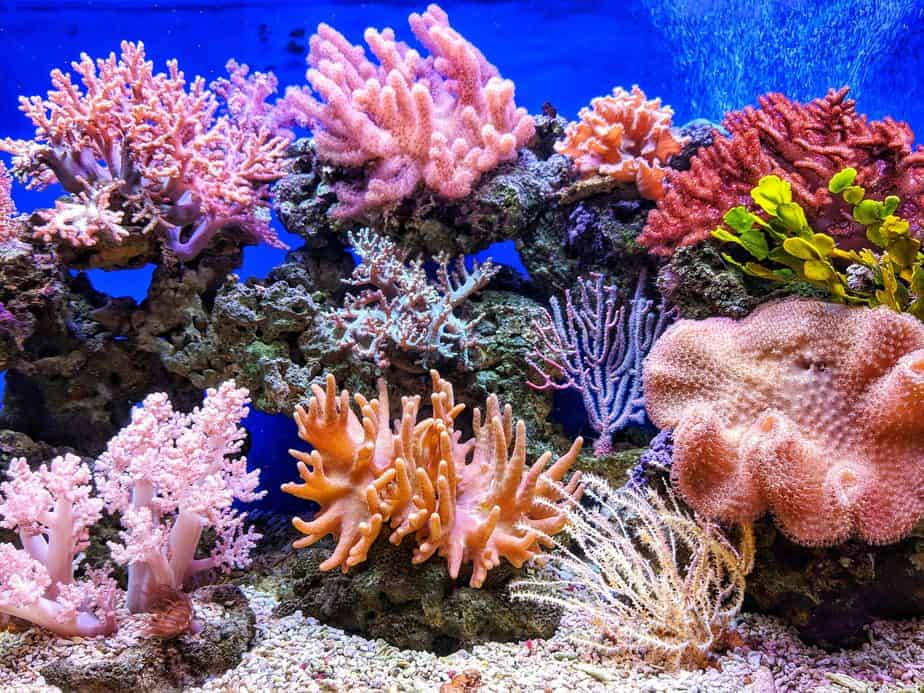
From corals to the most colorful reef fish, our articles answer either specific questions (with in-depth answers) or provide you with a hands-on care guide for saltwater fish species.
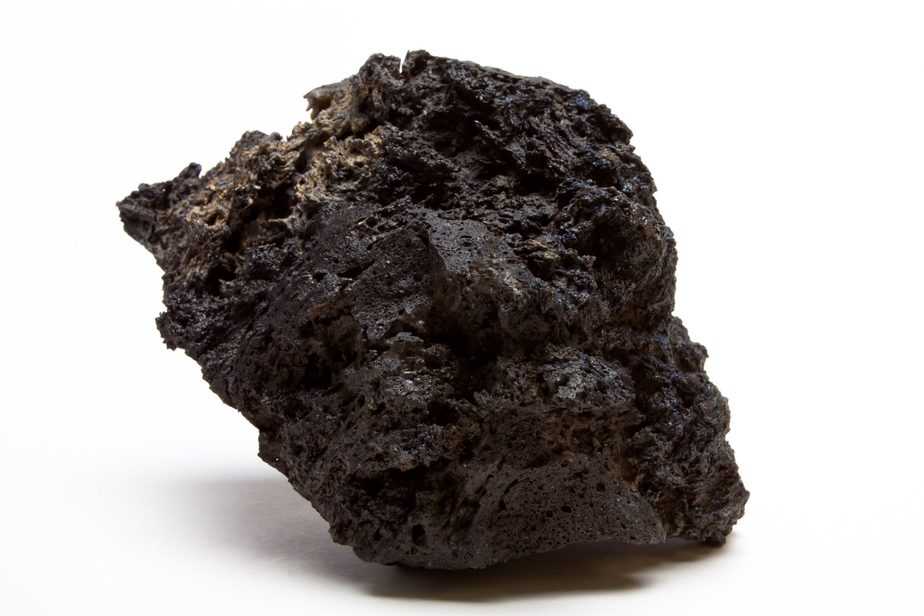
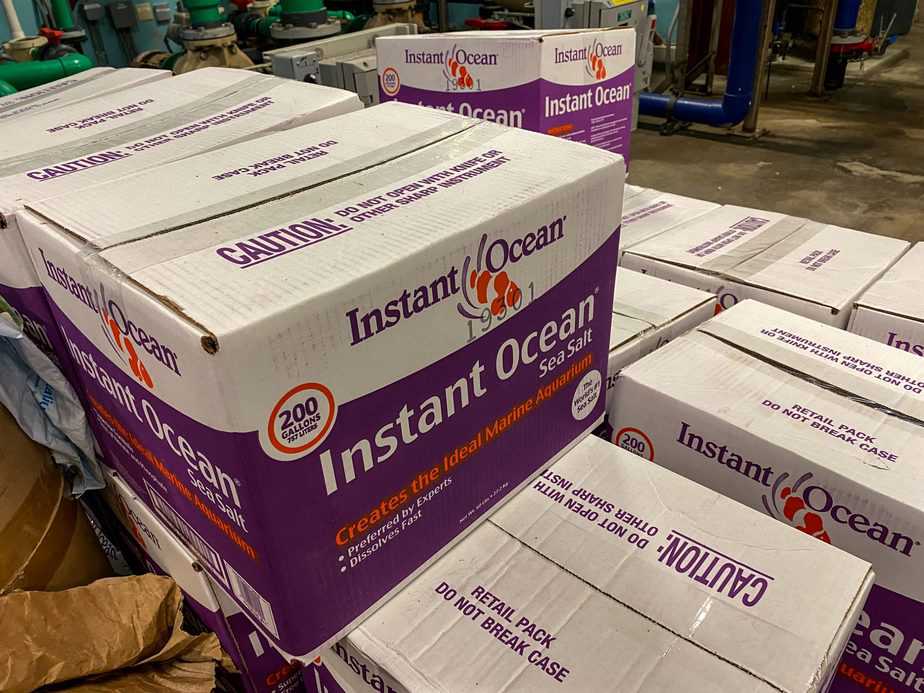
Apart from this, we also offer guides to help you set up your tank. This covers picking the right equipment and providing you with an overview of tank decorations to create a healthy ecosystem.