In my first aquarium, I learned the hard way why not disinfecting and quarantining aquarium plants is a massive mistake. Some snails hitchhiked their way into my tank and started multiplying like crazy. Now I’m here to tell you why it is a good habit to disinfect and quarantine your live plants.
Quick Answer
To disinfect and quarantine aquarium plants, place them in a bucket of clean water, remove rockwool, trim the roots, do regular water changes, disinfect with bleach, and use water conditioner to detoxify the plant. It should take around five days to fully disinfect and quarantine an aquarium plant.
Keep reading to find out exactly why it is so important to first disinfect and quarantine your aquarium plants before adding them into your tank. I will then take you on a step-by-step tutorial that will teach you exactly how to disinfect and quarantine your aquarium plans, so they’re safe to use in your tank and around your fish.
Why Do New Aquarium Plants Need to Be Disinfected and Quarantined?
One of the biggest mistakes I made as a newbie is thinking that aquarium plants don’t need to be disinfected and quarantined. Let me tell you exactly why this is such a big mistake.
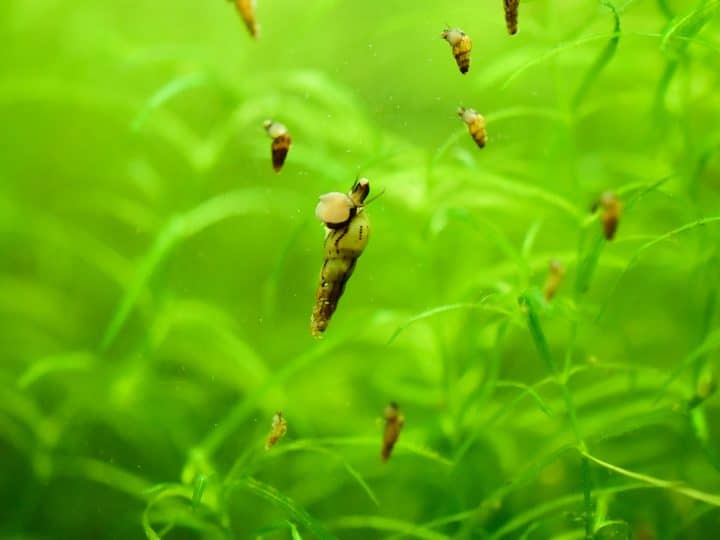
Snails
Yes, sometimes snails serve a beneficial purpose in a tank.
However, you might not want snails, especially some specific types that will multiply quickly and can wreak havoc on your aquarium ecosystem.
There are dozens of snail species that like to hitch a ride on aquarium plants like Vallisneria, and they’ll infest your ecosystem before you know what happened.
Getting rid of all of those snails can then be a massive challenge, and they can cause massive amounts of damage.

Predators and Parasites
Just like snails, there are also other predators and parasites that can hitch rides on aquarium plants.
Damselfly and dragonfly nymphs are two of the biggest issues here, and once these animals infest your tank, they might just eat smaller shrimp and fish, and completely devastate your community.
Once nymphs, predators, and parasites get into the tank, there is a very real possibility that they’ll wipe out everything in sight before you can take care of the issue.
Contaminants and More
Plants are often sprayed with pesticides, herbicides, fungicides, and other contaminants to keep them alive in the store.
However, these are chemicals that you certainly don’t want in your tank, because even small amounts of residue can kill fish and everything else in your aquarium.
It wouldn’t be the first time that someone completely wiped out their tank by inserting plants that were not decontaminated, and were filled with harsh chemicals.
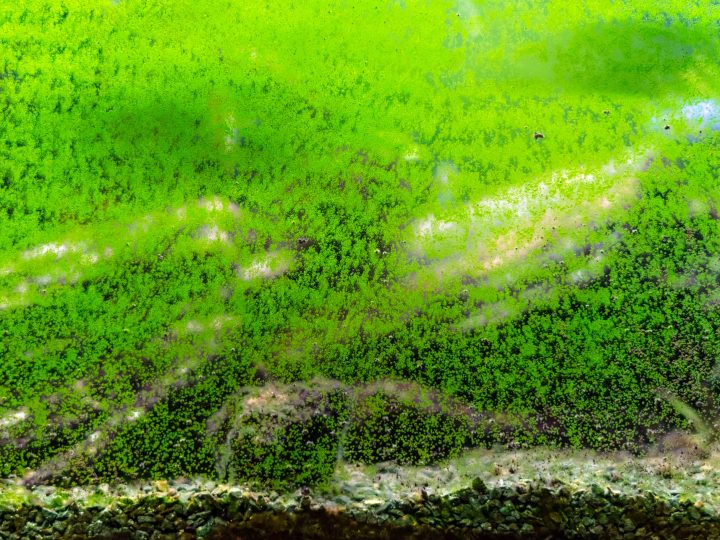
On that note, there are plenty of other diseases, fungi, algae, and more, that can all hitch rides on aquarium plants and infest your tank.
How to Disinfect and Quarantine Aquarium Plants: Step-by-Step
Now that we’ve gone over the main reasons why disinfecting and quarantining aquarium plants is so important, let’s figure out how it’s done.
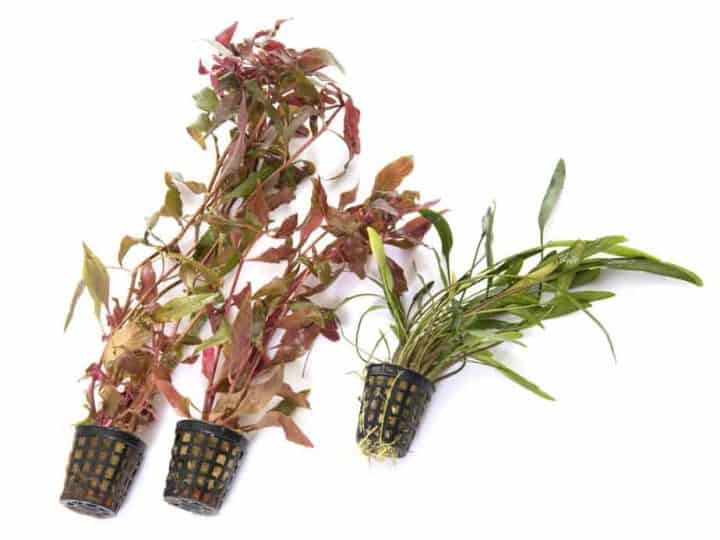
Remove Rockwool and Residue
The rockwool and other similar materials that aquarium plants come in may be contaminated with a variety of pests and substances, so this needs to be removed.
Using sharp scissors or any other fairly precise tool, remove all possible rockwool and sponge like material.
Get as close to the roots as you can and try not to leave any residue behind, because even small amounts of pollutants and pesticides can wreak havoc on your tank.
During this process, be sure to not damage the roots within roughly 1 inch of the base of the plant.
Trim the Roots
Get a pair of scissors and disinfect them using some rubbing alcohol or something similar. Make sure that they are very sharp as well.
Use these scissors to cut back any overgrown roots on the plant to within roughly 1 inch of the base of the plant.
Don’t worry about this causing damage to the plant, because as long as you don’t cut all of the roots off, they will grow back.
Disinfect the Plants
Now comes perhaps one of the most important parts of this process, disinfecting or sterilizing the aquarium plant.
To do this, you need some bleach, which happens to be one of the best disinfectants around.
Regular bleach is more than powerful enough to kill fungus, viruses, algae, parasites, bacteria, snails, and everything in between.
This qualifies as its own step-by-step tutorial, so I’ll provide you with exactly that.
- Mix water regular bleach with a ratio of 19:1, which means using 19 cups of water and 1 cup of bleach. If using concentrated bleach, you’ll need less of it. Make sure that you are using bleach that does not contain any additives.
- Place the plants in the newly mixed bleach solution and leave them submerged for no more than two minutes. Use gloves while doing this, because you don’t want to expose your skin to bleach. Do not leave the plants in the bleach solution for more than two minutes, or else you will kill the plant.
- Either drain out the bleach solution from the bucket and replace it with clean room temperature tap water, or just move the plants to another bucket that has clean room temperature tap water.
Rinse
You now need to thoroughly rinse the plant off one more time, just to ensure that there is no bleach residue left behind, as well as no other contaminants.
Place Plants in Clean Water
Take the aquarium plants and place them in another bucket of clean room temperature water.
Use a Water Conditioner
You now need to use some kind of water conditioner to detoxify the plant.
A good water conditioner will remove nitrates, nitrates, ammonia, heavy metals, pesticides, chlorine, and more.
These are all substances that you don’t want in your aquarium, so finding a good water conditioner for this purpose is very important.
Always follow the directions as listed on your water conditioner of choice.
Change the Water
To fully disinfect and sterilize your aquarium plants, you need to do a full water change each day.
Unlike in your aquarium or you might only change 30% of the water at a time, here you’re changing all of the water every single day.
Make sure that you add more of the water conditioner each time you do.
Rinse After Five Days
Once you have repeated this process for a total of five days, rinse the aquarium plants using clean and room temperature tap water.
Your aquarium plants should now be fully sterilized and disinfected, and ready to be put in your aquarium.
Alternatives to Bleach
In case you don’t have any bleach laying around, or you’d rather not use some for any reason, there are alternatives.
One of the best alternatives instead of bleach is potassium permanganate.
This is an oxidizing agent that contains disinfectant properties, and it can kill fungi, bacteria, algae, and parasites. It also helps remove organic buildups.
Another alternative is hydrogen peroxide. Hydrogen peroxide can kill parasites, algae, and many other invaders that you don’t want in your tank.
Just be sure that you don’t dip your plants in it for a long time, because it can easily damage and kill them. Read this guide on using hydrogen peroxide for plant sterilization.
Conclusion
Whatever substance you use to disinfect your aquarium plants, make sure that you follow the above steps very closely.
If you fail to follow the instructions I’ve provided, you might be introducing parasites and unwanted critters into your aquarium, which can then end up destroying a fragile and beautiful ecosystem.