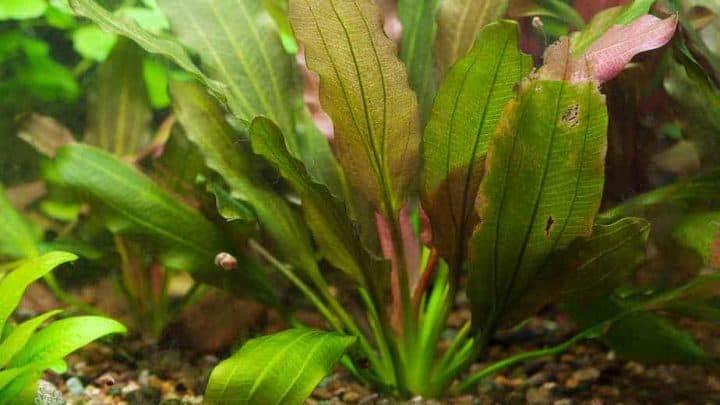
Welcome to the world of aquarium plants! If you love fish tanks, these plants can make them even better. I personally love live plants – potentially even more than fish! On this page you’ll find all the info you need to make your plants thrive!

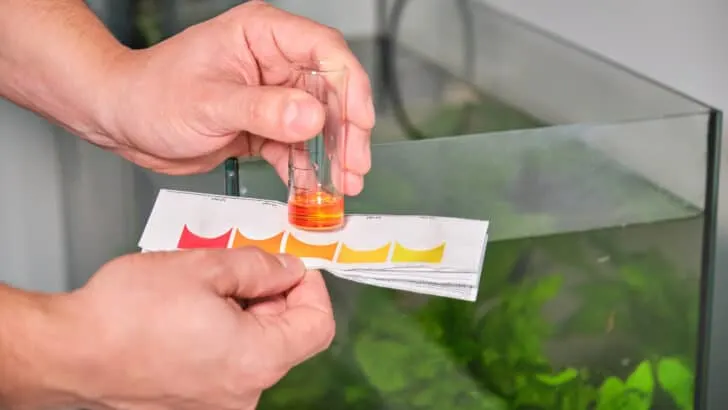
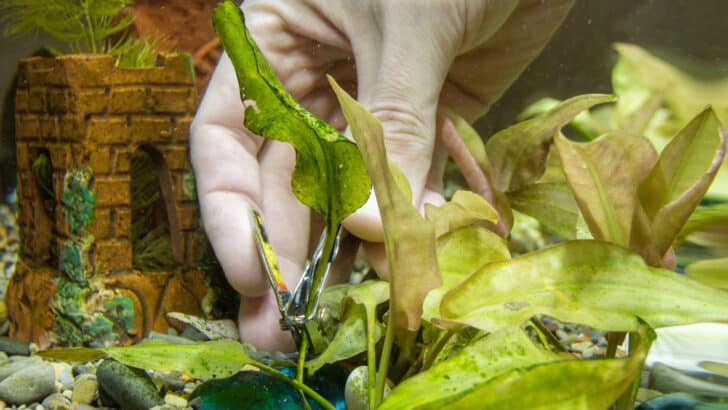
There is a lot to learn about Aquarium Plants. We help you find the right information with the categorization below. Do you want to know more about a specific plant species, the fertilization or having trouble with your aquarium plants? We help you with tips and information.

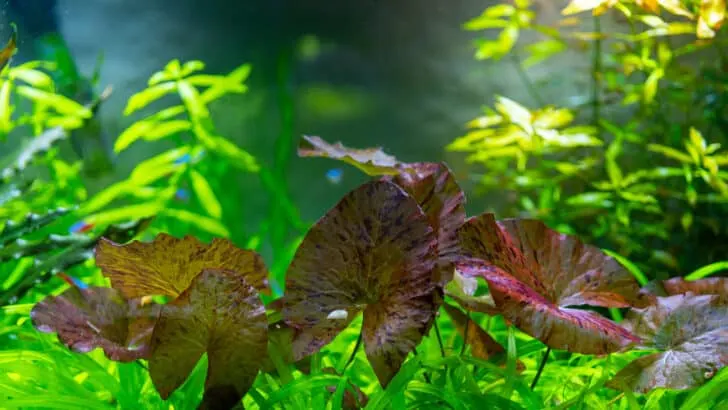
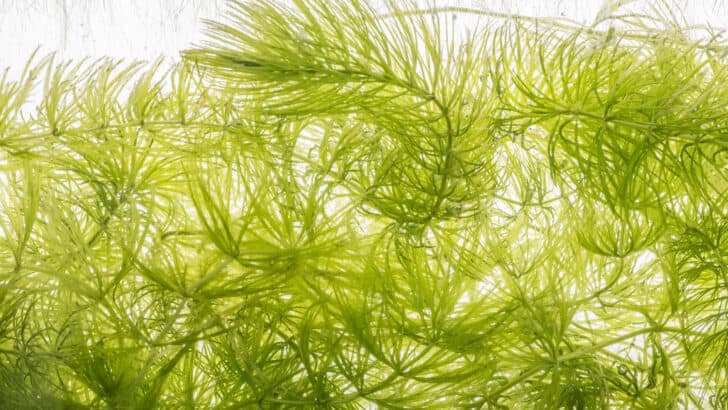
Freshwater aquarium plants are an integral part of a thriving aquatic environment. They not only beautify the aquarium but also provide essential services that promote the health and well-being of both fish and other organisms in the tank.
Aquarium plants are similar to terrestrial plants in many respects. They photosynthesize, consuming carbon dioxide and releasing oxygen, which in turn provides a healthy environment for fish and other aquatic life. They also play a significant role in nutrient cycling, absorbing excess nitrates, phosphates, and other compounds which could otherwise accumulate to harmful levels.