In the past years that I’ve had my aquarium, cleaning the gravel is a task I rarely look forward to. It’s time consuming and can be challenging without the proper equipment.
Quick Answer
Cleaning fish tank gravel involves removing the fish from the tank and using a gravel vacuum to suck up unwanted debris, such as fish waste an uneaten food, from the bottom of the fish tank. To maintain optimal cleanliness, fish tank gravel should be cleaned no less than once per month.
Luckily there are ways to make is easier, you just have to know how to do it.
When to Clean Aquarium Gravel
While I know that most people aim to change their water every (other) week, it’s not necessary to clean the aquarium gravel this often. You can get clean gravel with less effort.
It takes a bit more effort to clean the gravel so do not do it too often. I recommend cleaning the gravel of your fish tank once or twice a month.
There is one big don’t when it comes to cleaning aquarium gravel. Do not remove the gravel from your tank to give it a thorough cleaning. Instead, leave the gravel inside the aquarium.
Next to being easier, you also do not risk accidentally killing all the beneficial bacteria living in the gravel that are part of the nitrogen cycle, a mistake that all too many beginner aquarium hobbyists make. Fish tanks require those bacteria to avoid the buildup of ammonia and nitrates.
Although all the steps for the gravel cleaning process are explained in more detail on this page, I’ve also recorded and uploaded a short tutorial video on how I clean my gravel. If you’re more of a listener this might be for you.
How to Clean Aquarium Gravel – Step-by-Step
Now let’s dive in the three steps that you can follow to easily clean the aquarium gravel at the bottom of the tank!
1. Prepare the Aquarium to Clean Fish Tank Gravel
It’s important you take the necessary steps to prepare your aquarium for maintenance.
In short: turn off all equipment and lower the water level to make it easier to reach the bottom.
Get yourself plenty of towels and buckets and you’re pretty much ready for step 2. Some people may also want to wear gloves, although this is optional.
Before moving on, you could have some more questions concerning the preparation. For example, why would you turn off electronic equipment like the filter, the heater or wave makers? There are several reasons.
The heater needs to be turned off because room temperature is often lower than the water in a tropical aquarium. If the water level drops below the thermostat of the heater it’s going to try and heat up the room to tropical temperatures and it suddenly becomes a fire hazard.
You should turn off the filter because the water level might drop below the filter intake. If this happens, the filter will start to suck up air instead of water. If this has ever happened to you before you know that filters are not made for this and they will start to make loud noises. The filter may also start to suck up sand substrate and grit as you disturb the water, something that is best avoided.
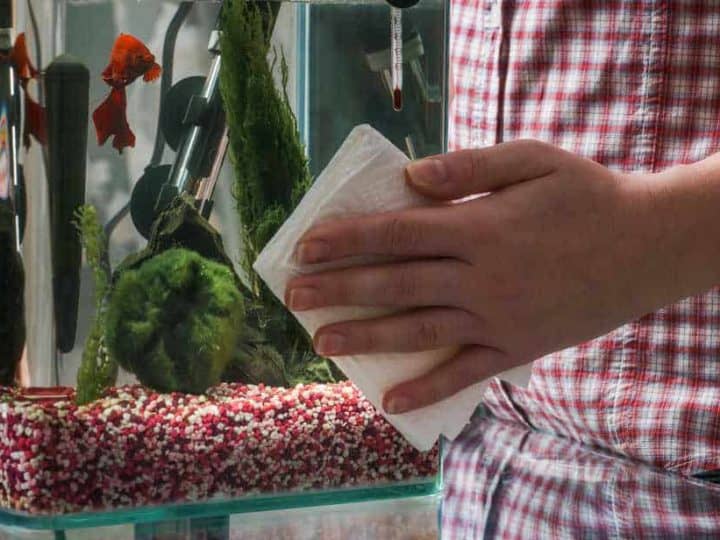
Also, consider scraping the inside of the glass before you start cleaning the gravel. The reason is obvious, because any debris that you loosen up by cleaning the aquarium will land on the gravel. If you do this beforehand, you get the chance to remove everything in one go.
2. Make Sure to Use the Right Equipment
You probably know how to start a siphon to remove water from your aquarium. If used in the right way, you can use this flow to rinse and clean the gravel without much effort. When done properly, you never have to remove the gravel from the aquarium to clean it, it can just remain in the tank.
For cleaning fish tank gravel without a gravel vacuum, scroll down a bit further to the last subheading “How to clean fish tank gravel without a vacuum”.
When you’ve just got a tube to use as a siphon, its tricky to use that to clean the gravel. The flow is way to strong and you’ll just end up sucking all the gravel out of your aquarium.
If the top layer is really dirty due to intense algae growth, this might be the effect you’re looking for. If you’re just trying to remove fish poop and other dirt, there is a better way.
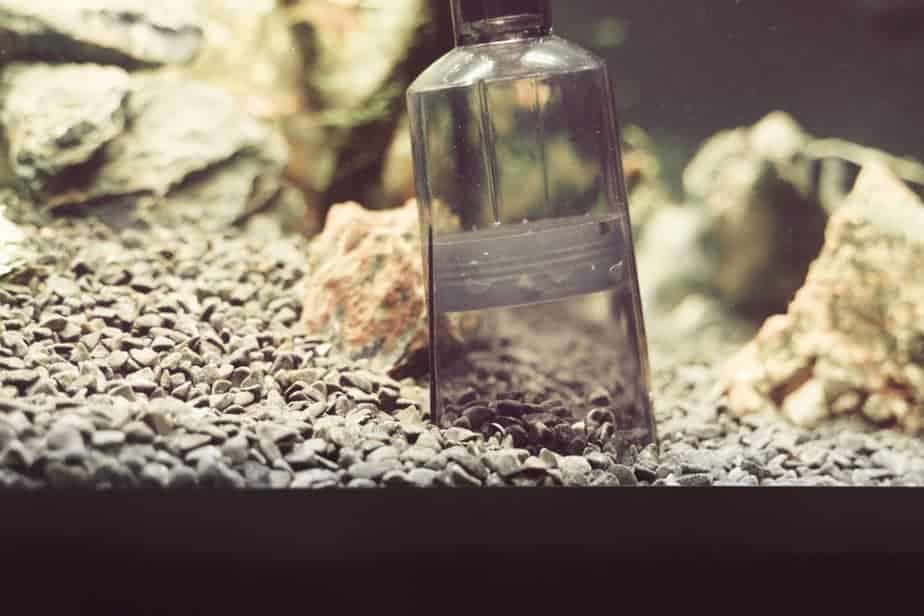
The best way to clean fish tank gravel is by using a “gravel vacuum”. There are super expensive gravel vacuum systems available, but you definitely don’t have to buy those.
There are loads of affordable (I almost want to call them cheap) gravel vacuums available online that will make your life so much easier.
What Does a Gravel Vacuum Do?
A gravel vacuum, of gravel vac for short, uses the flow of the siphon to lift up the gravel and wash it thoroughly. It uses a wider opening to prevent all the gravel from being sucked out of the aquarium.
If you don’t have a gravel vacuum yet, check out this one on Amazon.com. I’ve been recommending this one for years because its super basic (and therefore won’t break) and does not break the bank.
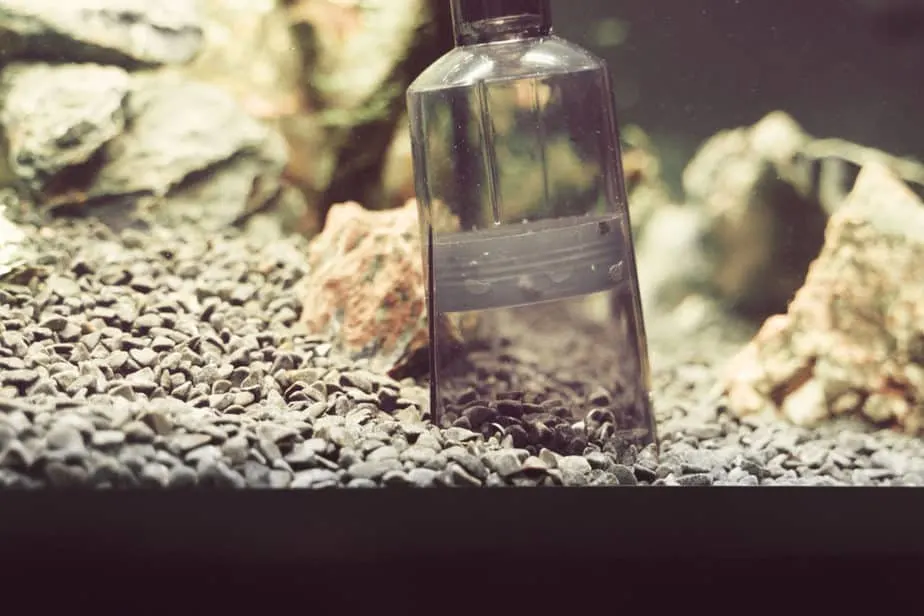
3. Clean the Gravel Using a Gravel Vacuum
Now that you’re all prepared, you can get to work. Use the vacuum to clean all the gravel that you can reach in your fish tank. If you’ve got any plants or rocks that prevent you from reaching the gravel, don’t worry.
It’s no problem to skip parts as you’ll never get it 100% clean. In fact, leaving some parts untouched (especially where you’re growing plants) might even benefit your tank.
Reading tip: this is my list of plants that grow especially well in gravel. Might be interesting for some inspiration!
While cleaning you should pay attention to a couple of things.
First of all I need you to understand that all fish tanks have “dead spots” where the flow of the aquarium ends or stops. At these dead spots you’ll find the highest concentration of fish poop and other floating debris that has landed on the substrate. Identify where these spots are in your tank and clean them thoroughly.
You can also try and improve the flow to remove any dead spots in your tank.
You should also check whether your tank is still healthy as you’re cleaning the gravel. Try and remove any dead plant matter and keep an eye out for fish, shrimp or snails that might have passed away.
Cleaning time is the time to check up on your tank.
When you’re done make sure to replace any removed water and turn on all equipment. Your tank is good to go again.
How to Clean Fish Tank Gravel Without a Vacuum
While you generally never have to remove your aquarium fish when cleaning, you do if you want to clean aquarium gravel without a vacuum.
The reason for this is because you’re either going to remove most of the gravel and stir up a lot of detritus, or you’re going to purposely stir up as much detritus as possible after which you’re removing 40 – 50% of the nasty water.
The first way is to first remove your fish and carefully move them to a bucket of aquarium water. Make sure it’s water from the very aquarium you’re removing them from to make sure all the parameters align perfectly.
When all fish are removed, try and remove all the gravel.
Keep one cup of uncleaned gravel apart as this includes beneficial bacteria your tank needs to remain safe. Thoroughly clean the rest of the gravel and put it back in the tank. Add the last cup, wait till all the detritus has settled and introduce the fish again.
The second option is to remove all fish in the same manner and use your tank to wash the gravel while it’s still in the fish tank. It will stir up so much detritus you can’t even see your hands anymore.
Make sure it’s all floating in the water and then remove 40 to 50% of the water. Fill it up with new water, wait till it’s all settled and put the fish back in.
Both these methods are much more stressful to your fish, so I would not recommend them. It’s way better to leave your fish in the tank while cleaning. Again, check out this cheap gravel vacuum; it’s going to save you so much work.
How Often Should You Clean Your Fish Tank Gravel?
It is important to clean your fish tank gravel on a monthly basis. This can be done by using a vacuum to suck up debris, poop, and other unwanted particles from the gravel. It is important not to remove the gravel when cleaning as it contains beneficial bacteria that helps keep the water in your tank clean and clear.
Cleaning too often or too quickly can disrupt this bacteria, resulting in cloudy water. When cleaning your tank, do so slowly and carefully so as not to disturb any of the fish in your tank. Doing this on a monthly basis will help keep your tank clean and healthy for all of its inhabitants.
Always Clean New Aquarium Gravel Before Adding to the Tank
When adding gravel to a fish tank, it is important to wash it before doing so. The best way to do this is to use a bucket and rinse the gravel with cold water. This will help remove any dust or debris that may be present in the gravel. It is important to repeat this process until the water runs clear, as this will ensure that all of the dirt and dust has been removed from the gravel before adding it to the tank.
This will help keep your fish healthy and happy by providing them with a clean environment free of any potential contaminants. If the aquarium gravel is very dirty, do not attempt to use soap to clean it. Some people may do so, but the soap residue that could potentially be left behind on the gravel could also cause some serious issues for your aquarium. Whenever possible avoid using bleach or any type of chemical cleaners.
What Happens if You Don’t Rinse Aquarium Gravel?
If you don’t rinse aquarium gravel before adding it to your tank, you may end up with cloudy water and a lot of dust. The dust can clog the filter, making it harder for the filter to do its job properly. This can cause poor water quality, which can be harmful to your fish.
Additionally, if the gravel is not rinsed properly, it can release chemicals into the water that are toxic to your fish. Therefore, it’s important to rinse aquarium gravel thoroughly before adding it to your tank in order to ensure a healthy environment for your fish.
A Note on Water Changes
Although cleaning gravel regularly is important for a number of reasons, take note that you don’t want to perform water changes too often. If you perform water changes of more than 30% on a weekly basis, you may disrupt the water parameters or colonies of beneficial bacteria that your fish require to maintain their health.
You never want to change too much of the tank’s water at once, or else the damage to the ecosystem may be irreversible. You must also take great care when using tap water, whether for gravel rinsing or water changes. Tap water contains chlorine, a substance that has no place in a fish tank, which means that a dechlorinator is called for.