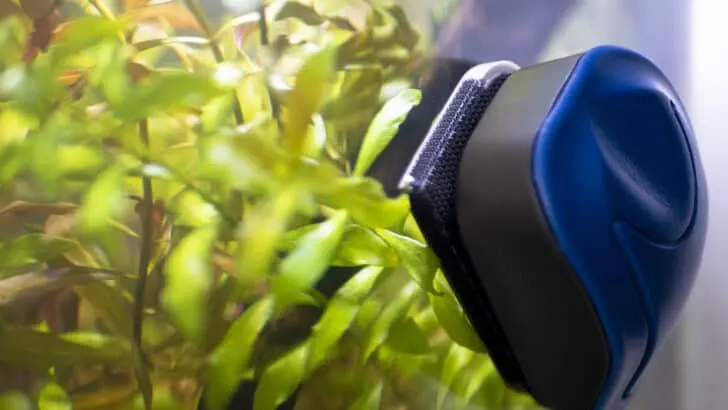
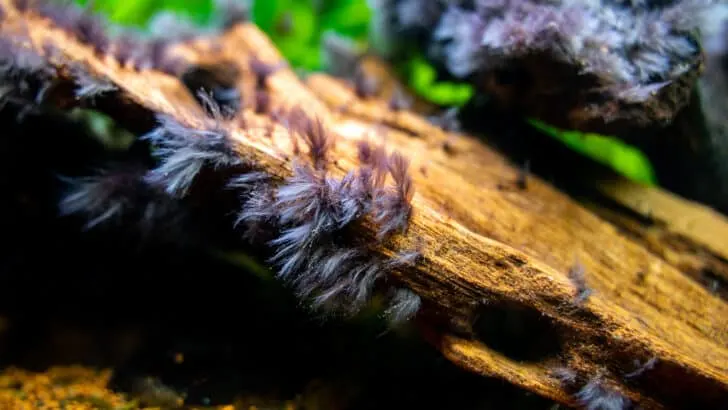
Welcome to the essential practice of aquarium maintenance! This crucial task ensures your tank remains a vibrant and healthy environment for your fish. Whether you’re dealing with routine cleanings or more complex tasks, each part of maintenance can be simple or more challenging depending on the setup.

There’s a lot to learn about taking care of a fish tank, and we’re here to help. Do you have questions about cleaning, water treatment, or problems with your aquarium? We have lots of helpful tips and advice for you.


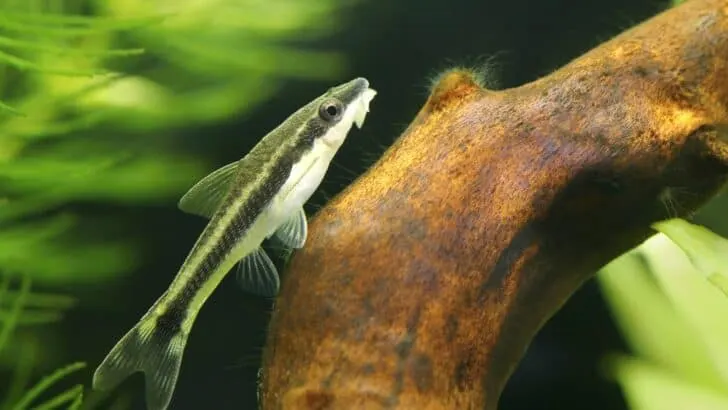
Taking care of an aquarium is more than just a chore, it’s a crucial part of keeping your aquatic friends happy and healthy. Just like fish in the wild, aquarium fish need a carefully balanced diet, the right amount of oxygen, and a clean and well-maintained habitat. This is where good aquarium maintenance comes in.
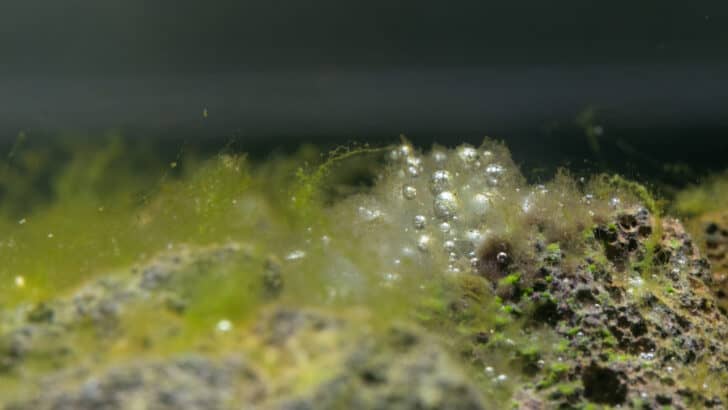
Maintaining your aquarium isn’t just about cleanliness. It also involves ensuring the right balance of gases in the tank. Your fish breathe in oxygen and exhale carbon dioxide, and this balance is essential for the well-being of everything living in the tank.
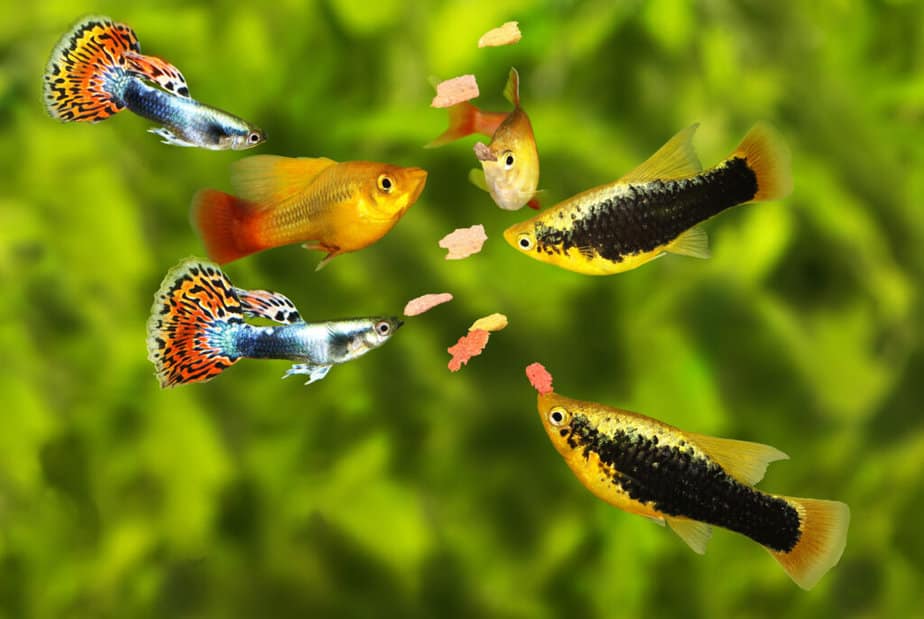
Feeding your fish properly is another important aspect. The way fish eat and process their food helps to keep the water healthy for both the fish and the plants. By understanding these processes, you can keep your tank looking great and your fish feeling great. Let’s get started on the journey of aquarium maintenance!